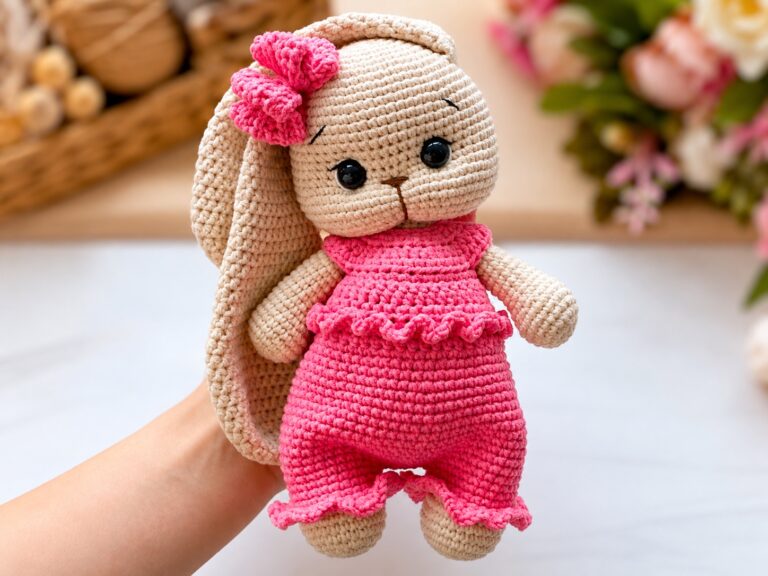
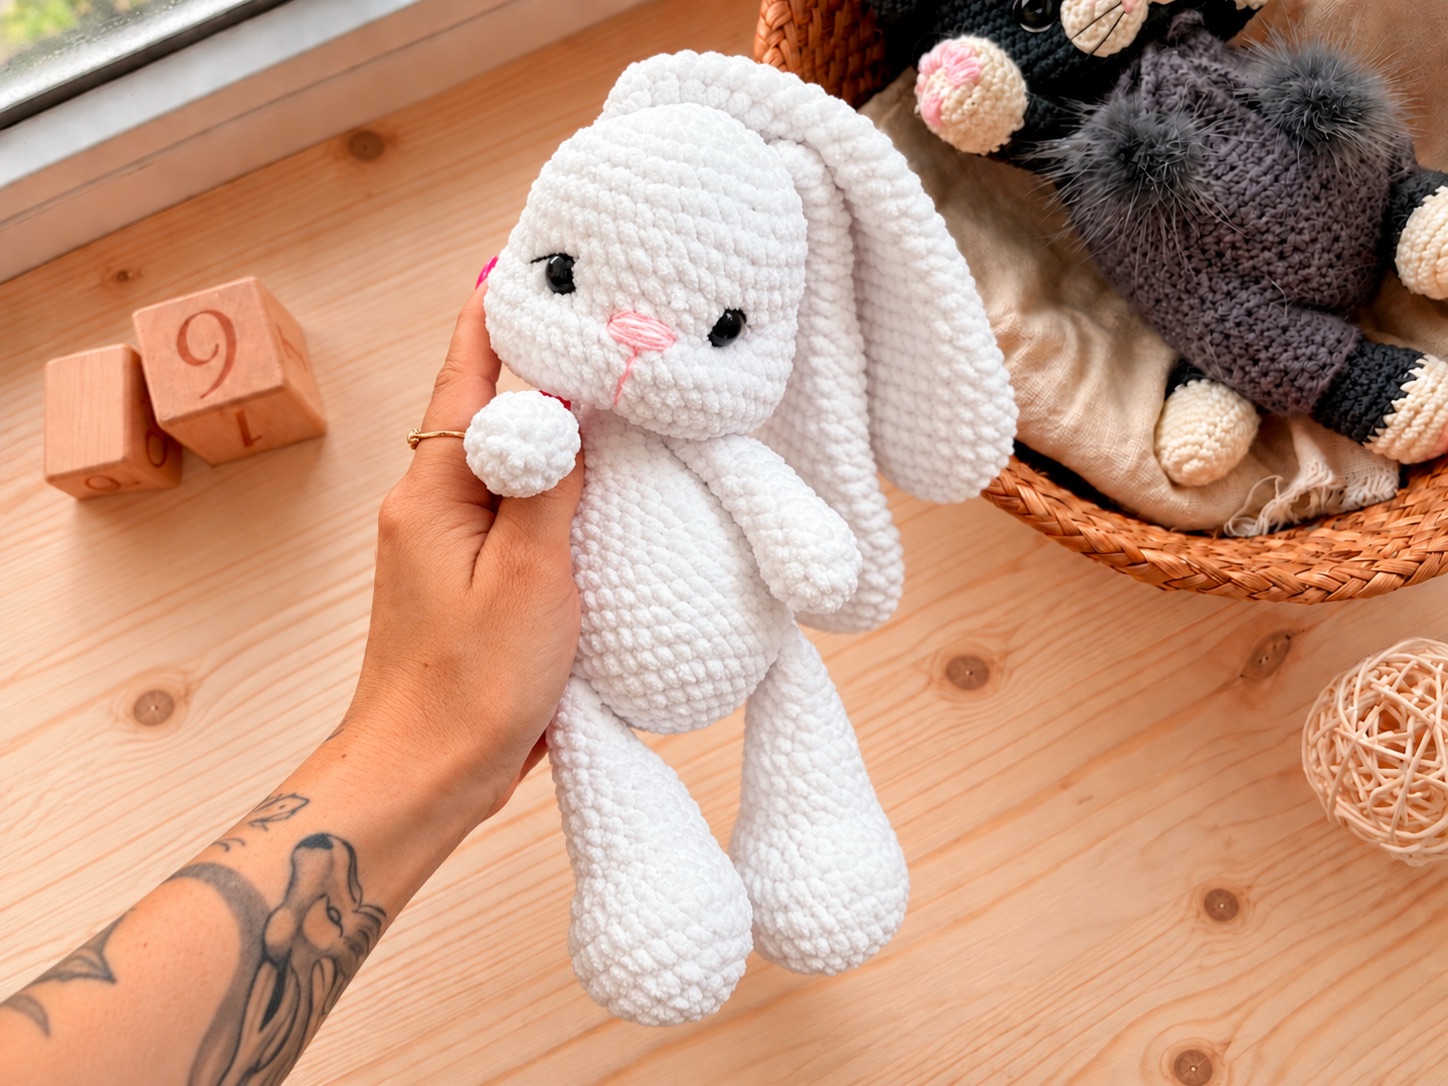
Crochet Your Own Snuggly Plush Friend Velvet Bunny Pattern
Crafting a handmade plush toy brings warmth and love into any home. making the plush crochet bunny named Elya offers a wonderfully satisfying project for both beginners and experienced crafters alike.
Essential Materials and Tools
Gathering the correct supplies ensures your finished bunny achieves its standard height of 24 cm (excluding ears).
- Yarn: Super bulky/14 ply chenille yarn LaVita yarn Velur (100g/120m, No: 1002)—2 skeins of the main color.
- Decoration Yarn: Optional 4 ply yarn YarnArt Jeans (50g/160m, No: 74) for features like the nose and eyebrows.
- Safety Eyes: Black safety eyes, size 12 mm.
- Stuffing: Synthetic filling material.
- Crochet Hooks: 3.25 mm hook for the toy body and 4 mm hook for the ears.
- Notions: Sewing needle and scissors.
Mastering Abbreviations
Review these standard crochet terms used throughout the pattern instructions:
- MR: Magic ring
- Slst: Slip stitch
- Sc: Single crochet
- Inc: Increase
- Dec: Decrease
- Ch: Chain
Step-by-Step Construction Guide
Head and Facial Sculpting
- Crocheting the Head: Start with a magic ring of 6 sc, expanding outward through regular increases up to 48 sc across round 12, where specialized cheek increases are worked.
- Eye Placement: Insert the 12 mm safety eyes between rounds 11 and 12, leaving about 7 to 8 sc of space between them.
- Needle Sculpting: Shape the facial features using needle sculpting across designated points (T1 through T6) to create depth around the eyes and muzzle before embroidering the nose and eyebrows.
Limbs, Ears, and Tail
- Ears (Make 2): Work in rounds starting with a 6 sc magic ring, expanding to 30 sc, and tapering down through structured decreases before folding in half to crochet 6 sc across both sides.
- Hind Legs (Make 2): Begin with a 6 sc magic ring, build up the heel shaping through specialized decreases along the heel marker, and finish by folding flat to crochet 6 sc across both sides.
- Forelegs (Make 2): Start with a 6 sc magic ring, work straight rounds of 12 sc, decrease to 9 sc, and finish by folding flat to crochet 4 sc across both sides.
- Tail: Formed with a small 6 sc magic ring, expanding to 12 sc, and tapering down to 9 sc with a long tail left for secure sewing.
Body Construction
- Crocheting the Body: Begin with a magic ring and expand outward in rounds up to 42 sc.
- Joining Limbs: The hind legs and forelegs can be crocheted directly into the body across designated rounds (such as incorporating the hind legs in round 8 and forelegs in round 22) to avoid extra sewing, though they can also be attached manually if preferred.
Assembly and Finishing Touches
- Attaching Pieces: Sew the completed ears securely between rounds 4 and 5 of the head.
- Securing the Tail: Attach the well-stuffed tail to the back of the body slightly above the hind legs.
- Final Assembly: Connect the head firmly to the top of the body, weaving in all loose yarn ends securely inside the toy.
Frequently Asked Questions (FAQ)
1. What size is the finished crochet bunny?
- The finished plush bunny measures approximately 24 cm tall, excluding its long ears.
2. What hooks and yarn are recommended?
- The designer uses LaVita Velur super bulky chenille yarn paired with a 3.25 mm hook for the main body and a larger 4 mm hook for the ears.
3. Do I have to crochet the limbs directly into the body?
- No, while the pattern includes instructions for crocheting the legs directly into the body rounds, you can also choose to sew them on manually by leaving long yarn tails.