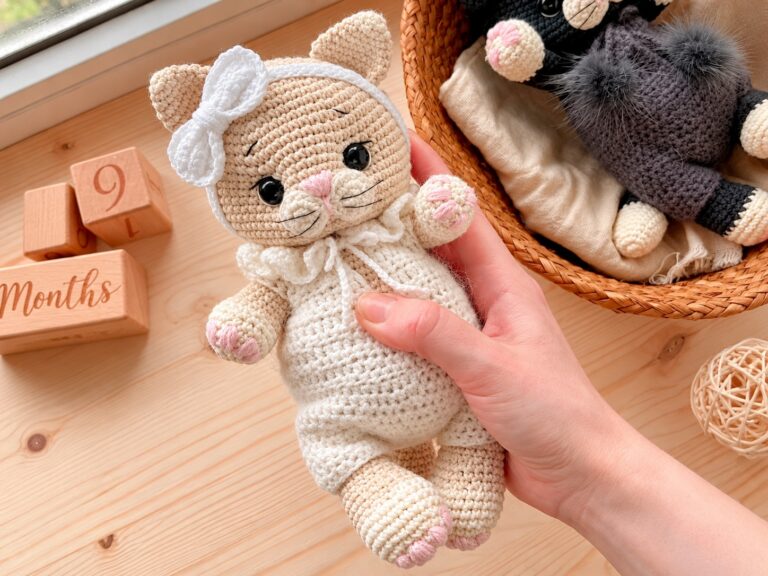
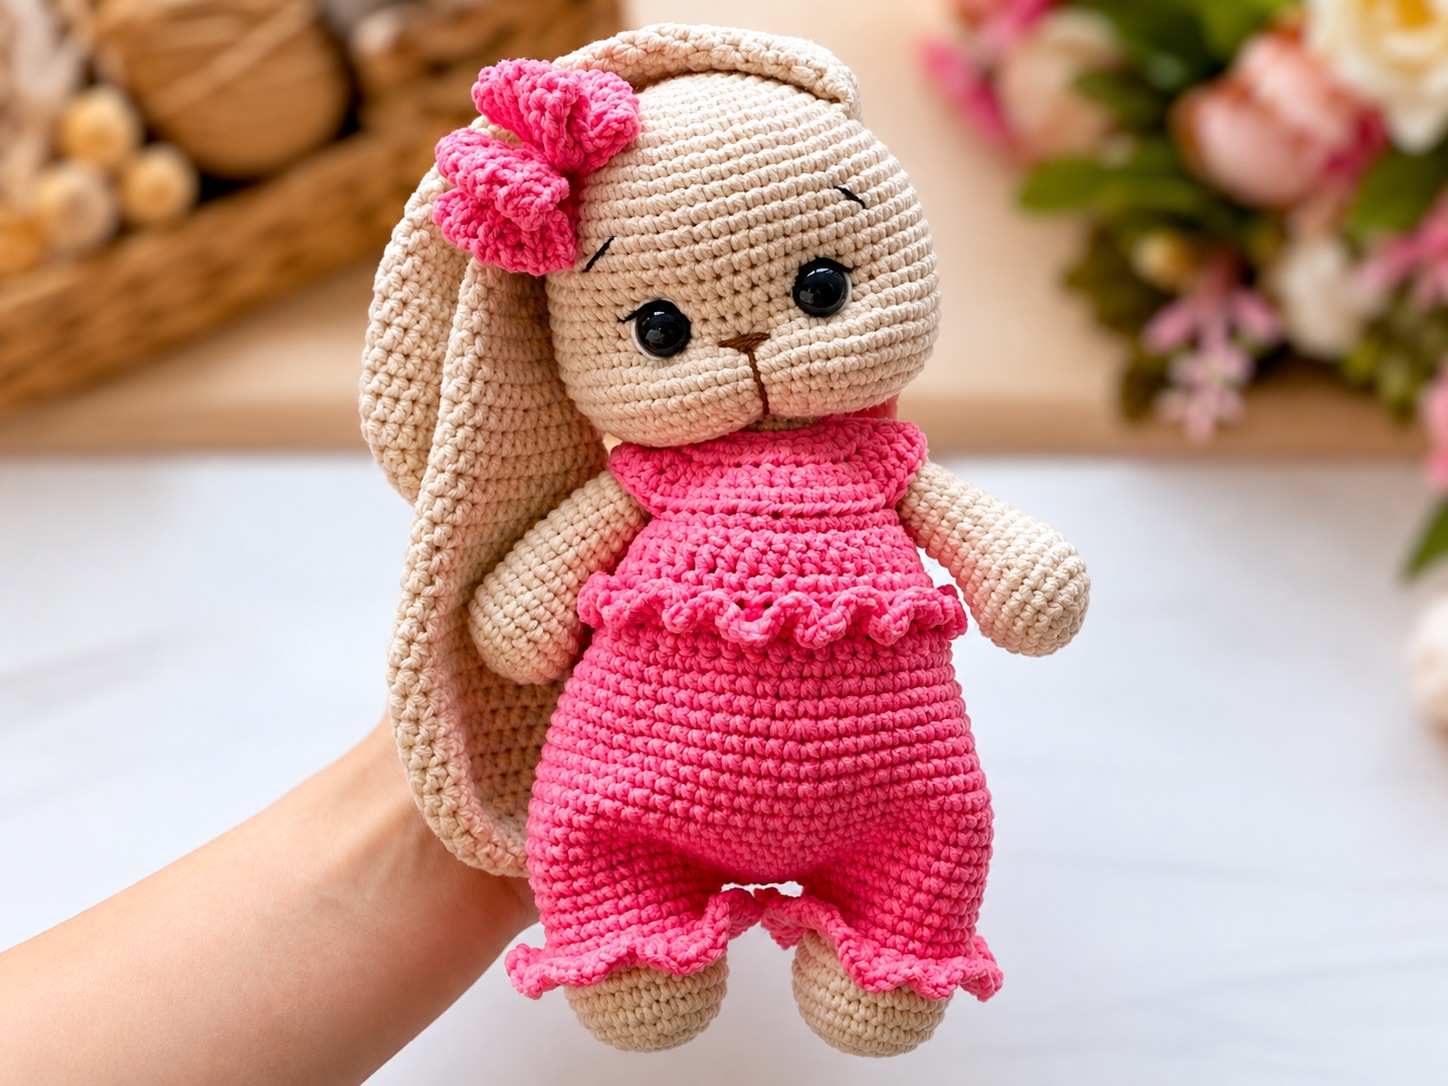
Create Your Own Adorable Companion Crochet Pattern Baby Rabbit
There is an undeniable magic in watching a simple ball of yarn transform under your hook into a lifelike, lovable creature. Crafting a handmade plushie allows you to pour your creativity and care into every stitch, resulting in a cherished keepsake for yourself or a thoughtful gift for a loved one. If you want to stitch up something exceptionally sweet, working on a Crochet pattern baby rabbit a wonderfully satisfying and charming project.
Essential Materials and Tools for Your Baby Rabbit
Before you cast on your first loop, gathering the correct supplies will ensure your finished bunny achieves its adorable proportions—measuring about 13 cm tall, or 17 cm including the ears. Depending on the look you prefer, you can choose between a velvet plush finish or a fuzzy, brushed texture.
- For a Plush Velvet Rabbit:
- Super Bulky/Super Chunky velvet yarn (such as Wolans Bunny Baby No. 28, Himalaya Dolphin Baby, or YarnArt Dolce)—you will need about half a skein.
- 3.5 mm crochet hook.
- 6 mm round black safety eyes or loop buttons.
- Approximately 10 g of fiberfill stuffing.
- For a Fluffy Fur Rabbit:
- Super Bulky faux fur yarn (such as Himalaya Koala No. 730)—about 0.6 of a skein.
- 3.5 mm crochet hook.
- 10 mm round black safety eyes (larger eyes are recommended so they don’t get lost behind the fur).
- 10 g of fiberfill stuffing.
- General Tools: Stitch markers, scissors, and safety pins for positioning pieces.
Mastering Abbreviations and Basic Stitches
To keep your crafting session smooth, review these standard U.S. crochet terms used throughout the pattern:
- MR: Magic ring
- ch: Chain
- sc: Single crochet
- inc: Increase (2 sc in one stitch)
- dec: Decrease (2 sc together)
- sl st: Slip stitch
- dc: Double crochet
- dcinc: Double crochet increase (2 dc in one stitch)
Step-by-Step Construction Guide for Your Crochet Pattern Baby Rabbit
The baby rabbit is designed to be clever and streamlined, crocheted primarily in continuous spiral rounds without slip-stitch joins at the end of each round.
Head and Body Integration
- Starting the Head: Begin with a foundation chain of 5, working an oval shape around the chain starting in the second chain from the hook.
- Shaping the Head: Increase across the early rounds to form the snout and head structure, placing markers at stitches 5 and 15 for safety eye placement around rounds 4 to 5.
- Transitioning to the Body: After stuffing the head section firmly, work increases along the back and expand outward through structured rows up to round 17.
- Foreleg Openings: At round 18, create the armholes by chaining and skipping stitches, allowing you to seamlessly work the forelegs directly into the body later. Finish the body shaping down to 8 stitches, close the base hole securely, and weave your yarn tail.
Crafting Limbs and Ears
- Forelegs: Attached directly into the pre-made body openings using specialized starting points (clockwise for velvet yarn, counter-clockwise for faux fur), working 6 compact rounds including a decorative cluster of double crochet increases in round 5.
- Ears (Make 2): Start with an 8-chain foundation, working a neat oval over two rounds to create a cute, folded rabbit ear shape. Leave a long tail for sewing.
- Tail and Hind Legs: Formed using simple 6-stitch magic rings (
6 sc in MR) worked for a few short rounds, providing the essential support structure so your baby rabbit can sit upright and stand steadily.
Assembly and Final Details
Bringing your baby rabbit to life relies heavily on precise placement and expressive detailing:
- Eye Tightening & Face: Perform an eye tightening technique with strong thread to give the face depth, and embroider the nose using a few neat stitches centered between rounds 5 and 6.
- Attaching Ears and Limbs: Pin the ears obliquely onto the top of the head (upper part near round 1, lower near round 3). Secure the hind legs and tail carefully with pins to ensure the rabbit maintains proper balance and posture.
- Brushing (For Fur Yarn): If you opted for a fluffy faux fur or brushed yarn style, take your time combing out the fibers using a slicker brush or Velcro tool to reveal a soft, realistic texture.
Frequently Asked Questions (FAQ)
1. What size hook and yarn are best for this Crochet pattern baby rabbit?
The pattern is optimized for Super Bulky/Super Chunky velvet or faux fur yarn paired with a 3.5 mm crochet hook. However, you can also adapt it using Sport-weight yarn (like YarnArt Jeans) or brushed yarns (like NAKO Paris) by adjusting your hook choice accordingly.
2. How do I make sure my finished rabbit stands or sits properly?
Proper balance depends entirely on the placement of the hind legs and tail during assembly. Make sure to pin the hind legs around rounds 21–22 and the tail around rounds 24–26, testing the posture before sewing to ensure they act as a stable tripod support.
3. Are the safety eyes difficult to insert with plush yarn?
Safety eyes (6 mm for velvet or 10 mm for fluffy yarn) are inserted early on during rounds 4 and 5 of the head construction. Marking your stitches beforehand makes locating the insertion points much easier, even with textured plush yarn.