Crochet Snoopy Dog Amigurumi Pattern
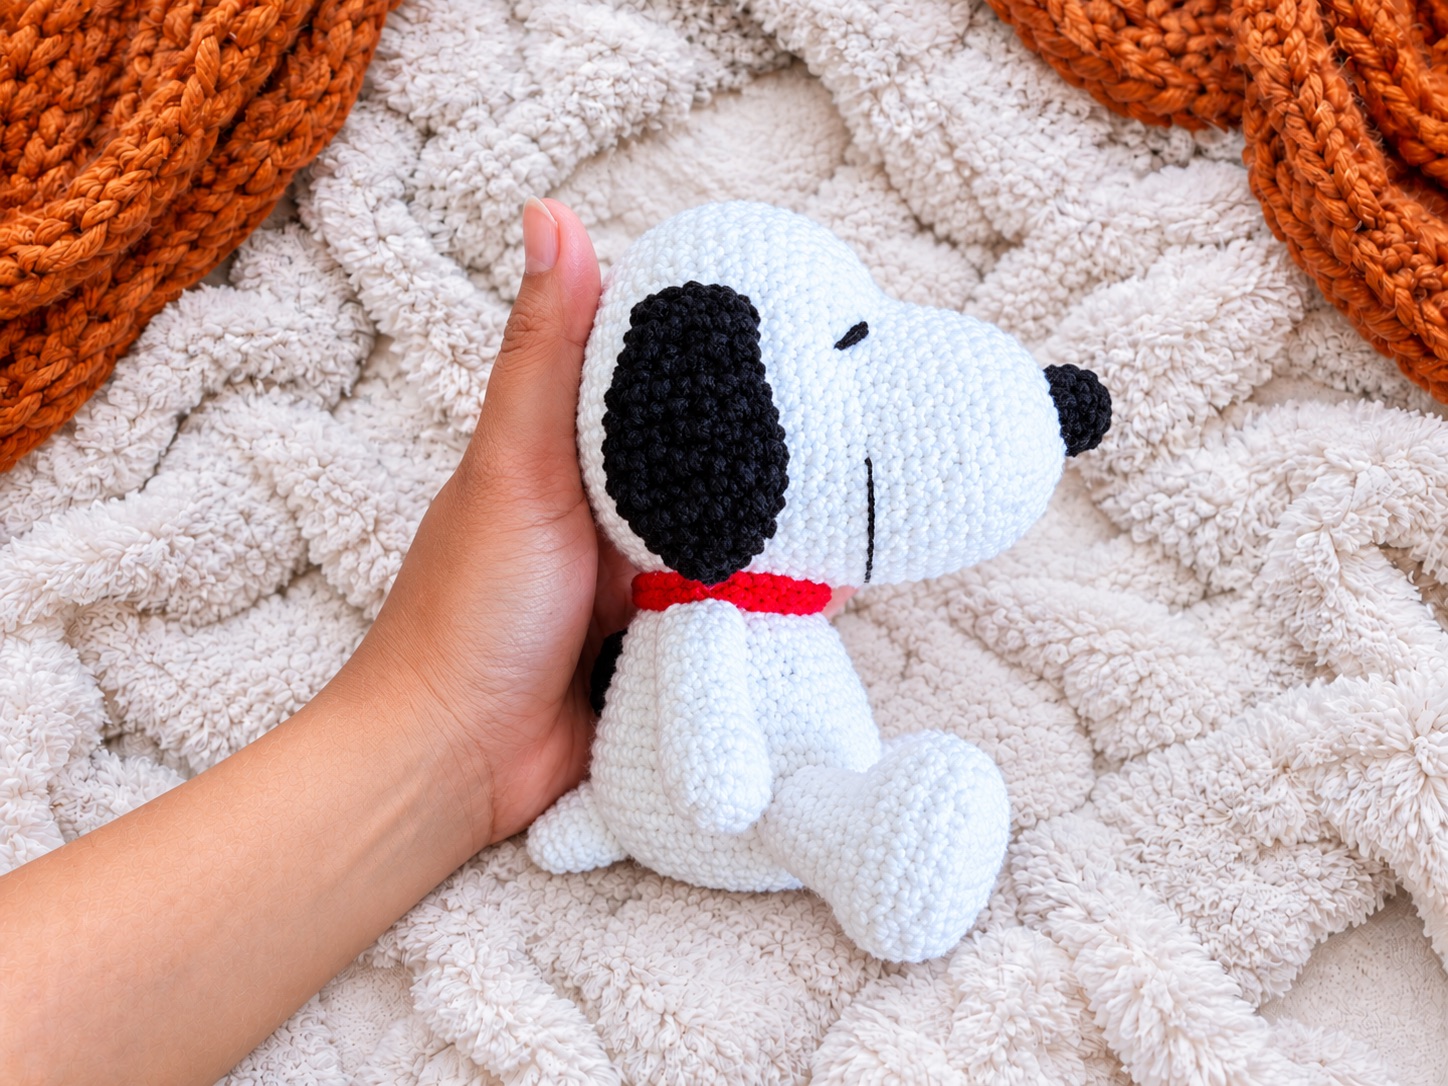
There is a special joy in crafting classic pop culture icons with your own hands. If you are a fan of timeless cartoons, you will love creating your very own Snoopy, one of the main heroes of the Peanuts cartoon series. this crochet pattern allows you to bring everyone’s favorite beagle to life in a compact, adorable format.
Project Overview and Specifications
- Finished Size: When completed following the pattern, your Snoopy amigurumi will measure approximately 4 inches.
- Skill Level: The pattern features step-by-step, detailed instructions designed to be easy enough for beginners to follow without difficulty.
- Visual Elements: The project utilizes simple colorwork using white, black, and red yarn to capture Snoopy’s classic look and red collar.
Core Crochet Abbreviations
Familiarize yourself with these standard amigurumi abbreviations used throughout the pattern:
- MR: Magic ring
- Ch: Chain
- Sc: Single crochet
- Slst: Slip stitch
- Inc: Increase
- Dec: Decrease
Step-by-Step Construction Guide
1. The Head
- The head is worked starting with a magic ring of 6 single crochets.
- It expands outward through increasing rounds up to 60 stitches by round 15.
- After maintaining straight rows, the head decreases smoothly down to 6 stitches, finishing with a slip stitch.
2. Ears and Nose
- Ears (Make 2): Crocheted in black color, starting with 6 sc in a MR, expanding to 18 stitches, and shaping down to 12 stitches before fastening off.
- Nose: Also worked in black color, beginning with 5 sc in a MR, expanding to 10 stitches, and finishing with a slip stitch.
3. Body, Arms, and Legs
- Body: Begins with a magic ring of 6 sc, expanding up to 42 sc before shaping and tapering down to 24 stitches.
- Arms (Make 2): Worked from a 6 sc magic ring into a 9-stitch tube that runs for multiple rounds.
- Legs (Make 2): Started with a chain foundation, working around both sides of the chain to form the base before decreasing and tapering into 13-stitch rows.
4. The Tail
- The tail is built starting with 6 sc in a magic ring.
- It gradually increases through rounds of single crochets and increases until it reaches 12 stitches, finishing with a slip stitch.
Frequently Asked Questions (FAQ)
Who designed the Crochet Snoopy pattern?
- The pattern was designed by tamtam ami.
How big is the finished Snoopy amigurumi?
- The finished toy measures about 4 inches in height.
Is this pattern suitable for beginners?
- Yes, thanks to the step-by-step detailed and easy instructions, beginners can successfully complete the project.
Conclusion
Crafting this miniature Snoopy is a fun and rewarding project for any Peanuts fan. Once you complete your creation, share your photos with the community! Happy hooking!