Crochet Baby Rabbit Bunny Amigurumi Pattern
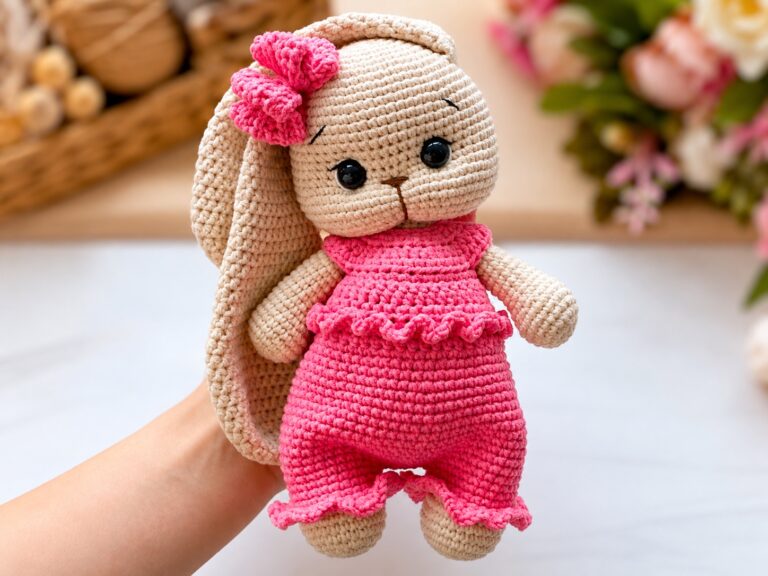
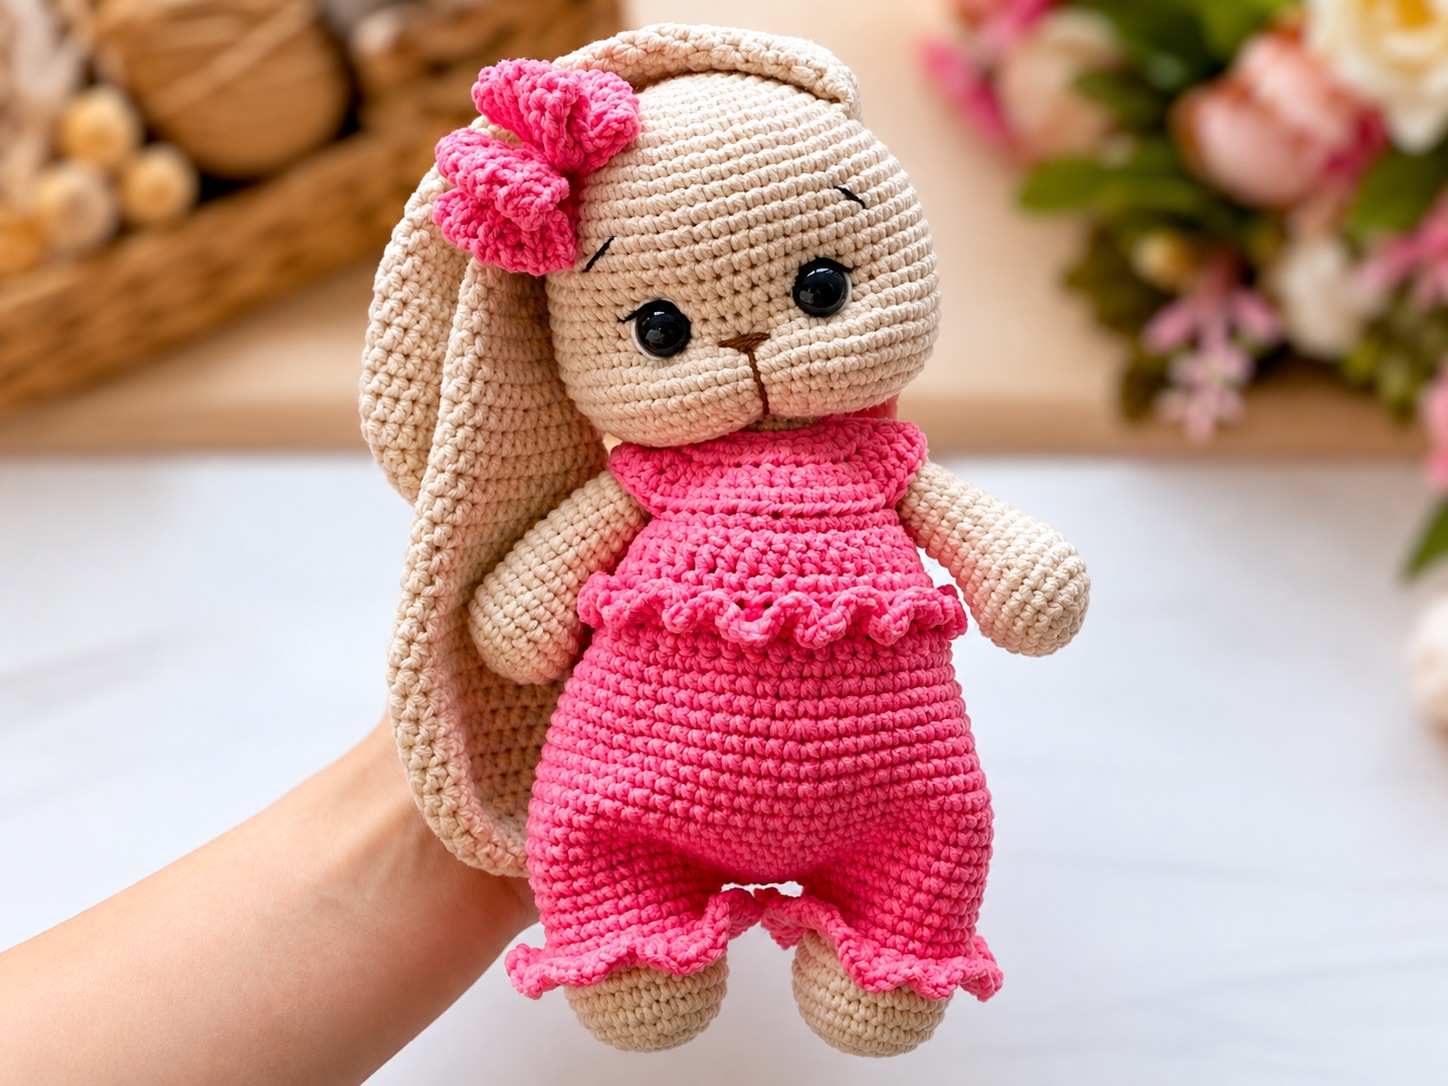
Crafting an heirloom-quality amigurumi toy is a deeply rewarding experience for crochet enthusiasts. master class provides a comprehensive guide to making a charming, beautifully sculpted bunny complete with a stylish ruffle jumpsuit and matching bow.
Project Overview and Specifications
- Finished Size: The completed toy stands approximately 20 cm tall (measured without its ears) when using the recommended materials and tools.
- Skill Level: Rated at a medium difficulty level, designed for crafters who already possess foundational crochet skills.
- Ear Customization: The pattern includes instructions for two distinct ear styles—long and shorter—allowing you to personalize your finished creation.
- Construction Style: The bunny is worked from top to bottom in a continuous piece, with arms and legs integrated directly into the body during the process.
Essential Materials and Tools Checklist
Gathering the correct yarn weights and hardware ensures your project maintains its professional look:
- Yarn: YarnArt Jeans (50g/160m) — approximately 1.5 skeins of the main body color (such as color #05).
- Clothing & Accessory Yarn: About 30g of YarnArt Jeans in colors for the jumpsuit and hair bow (such as #36 and #78), plus a small amount (color #71 or #40) for nose embroidery.
- Crochet Hooks: A No. 2 hook for the main toy, and a No. 2.5 hook for the jumpsuit, ears, and bow.
- Safety Hardware: Black safety eyes with plugs (12 mm diameter) and three 7 mm buttons for the overalls.
- Notions: Holofiber filler, black floss or thread for eye details, scissors, a sewing needle, stitch markers, and tweezers.
Core Crochet Abbreviations
- KA: Amigurumi ring (magic ring)
- sc: Single crochet
- hdc: Half double crochet
- inc: Increase
- dec: Decrease
- ss / sl st: Slip stitch
- ch / VP: Air loop (chain)
Step-by-Step Construction Guide
1. Legs and Arms
- Legs: Worked in a spiral starting from an amigurumi ring, stuffed firmly at the foot and moderately up the leg before being folded in half and closed with single crochets.
- Arms: Crafted similarly with a denser fist shape, filled slightly more than halfway up, and flattened at the top for easy integration into the body.
2. Head-Body Construction
- Work starts from the top of the head in a spiral, expanding outward through increasing rounds before moving downward.
- Safety eyes are installed and secured on the reverse side by melting the plastic post with a lighter and flattening it with tweezers.
- The body continues downward, seamlessly incorporating the arms and legs at designated rows.
3. Face Sculpting and Nose Embroidery
- Detailed face-tightening techniques use multiple reference points to pull the fabric and create the bunny’s signature expressive cheeks and eye sockets.
- The nose is embroidered using designated yarn shades over the center rows between the eyes.
- Final adjustments to the stuffing are made around the cheeks and lower head to achieve the ideal facial profile.
4. The Ruffle Jumpsuit
- Worked separately using hook No. 2.5, starting with turning rows that transition into circular rounds.
- Features integrated button loops, a delicate frill detail across the bodice, and trouser legs finished with triple increases at the cuffs.
5. Ears and Bow
- Ears: Choose between long or shorter ear instructions, shaped and securely sewn near the top of the head.
- Bow: Constructed from a rectangular strip worked in slip stitches behind the back loops, wrapped tightly in the center to create volume, and attached to complete the outfit.
Frequently Asked Questions (FAQ)
How tall is the finished Zayka bunny?
- The finished toy measures about 20 cm tall, excluding the length of its ears.
What skill level is required for this master class?
- It has a medium difficulty rating and is tailored for crafters who already know basic amigurumi techniques.
Are there different ear options available?
- Yes, the pattern provides complete instructions for both long ears and shorter ears.
Conclusion
Creating this adorable bunny is a wonderful project that results in a cherished, handmade keepsake. When you finish your creation, be sure to share photos of your completed work !