Handcraft a Sunny Masterpiece with the Sunflower Bucket Hat Crochet Pattern
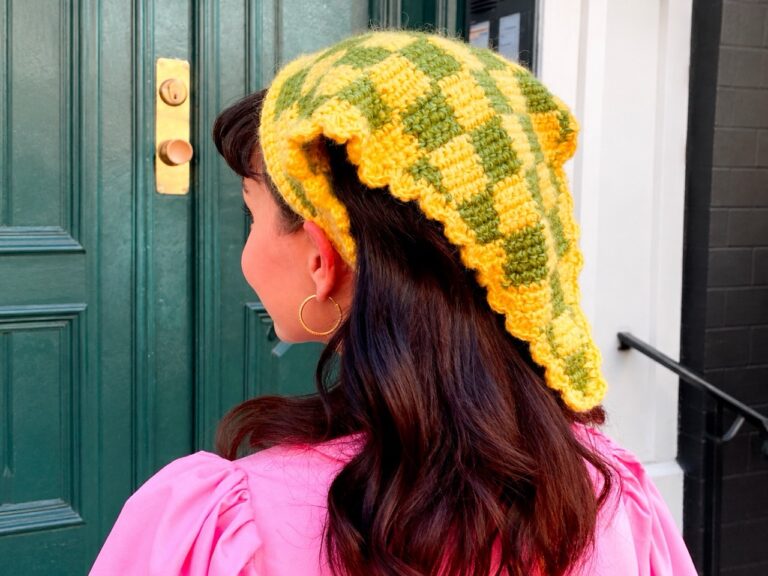
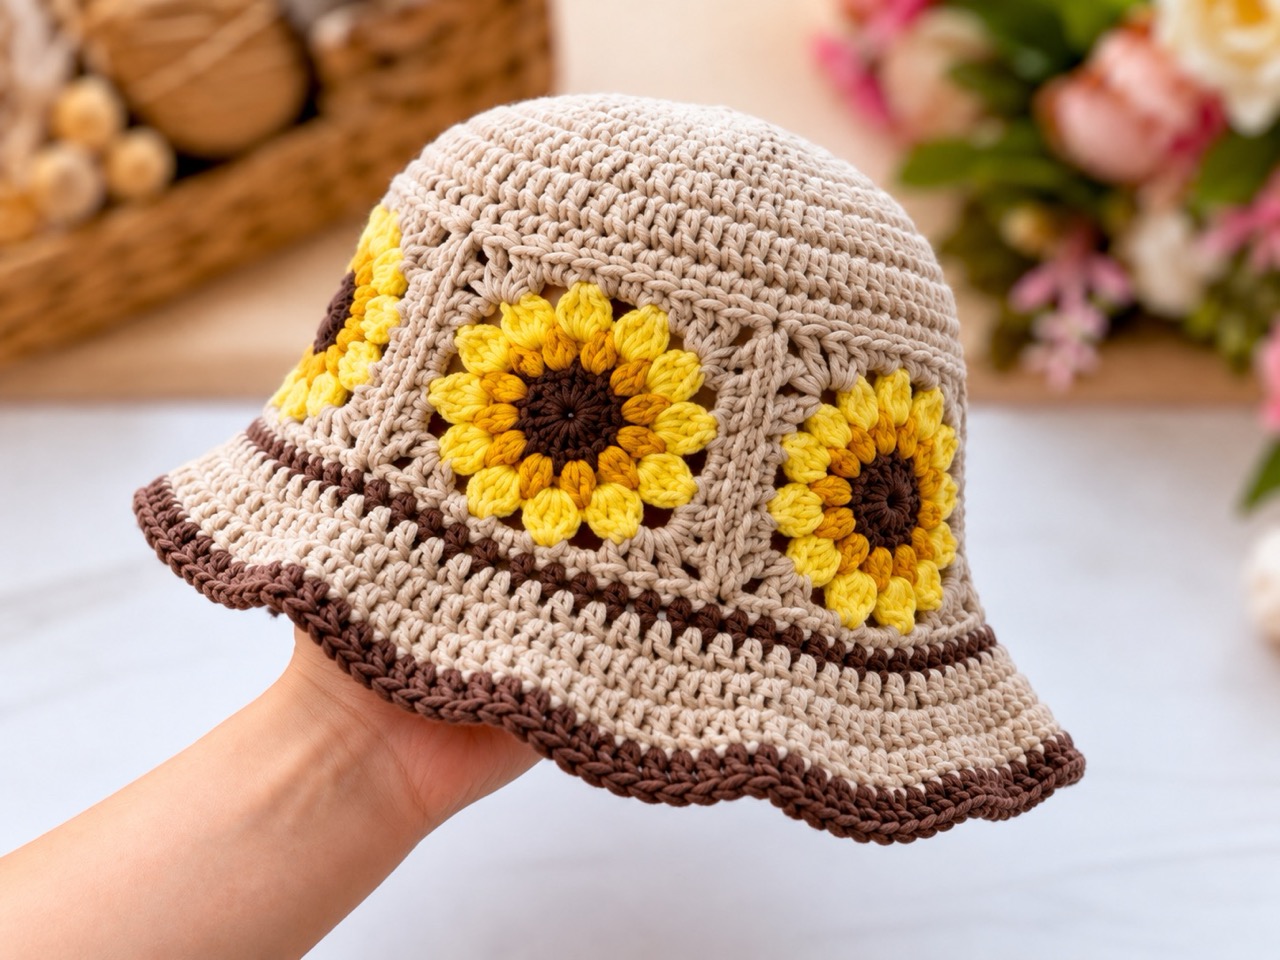
Infused with warm, earthy tones and a delightful floral motif, the Sunflower Bucket Hat accessory that brings a touch of perpetual sunshine to your wardrobe. Categorized as an upper beginner project, this pattern pairs classic granny squares featuring dimensional sunflowers with a well-structured crown and a stylishly flared, two-tone brim. Whether you are heading out for a sunny weekend getaway or looking for a charming handmade gift, this hat is a rewarding project that works up into a durable and fashionable staple.
Project Overview and Specifications
- Skill Level: Upper beginner.
- Target Head Size: Designed to comfortably fit a standard 55 cm to 58 cm head circumference.
- Finished Measurements:
- Bottom of brim to the top of the middle section: 14 cm / 5.25 inches
- Crown diameter: 16 cm / 6 inches
- Side-to-side width: 26 cm / 10 inches
Essential Materials and Tools Checklist
To ensure your bucket hat has the proper structure, drape, and durability, gather the following supplies before you begin:
- Yarn: DK or 8-ply cotton (or cotton-blend) yarn apportioned as follows:
- $1 \times 50\text{g}$ ball of yellow yarn
- $1 \times 50\text{g}$ ball of dark brown yarn
- $2 \times 50\text{g}$ balls of beige yarn
- Crochet Hook: Size 3.5 mm crochet hook.
- Notions: Scissors and a tapestry needle.
Recommended Yarn Alternatives
If you prefer specific brands or need local options, the designer suggests the following compatible yarns:
- Hobbii Rainbow cotton 8/6 (Global)
- Lincraft cotton 8 ply (Australia)
- Spotlight Brighton or Flinders 8 ply (Australia)
- Lionbrand 24/7 cotton (USA)
- We Crochet Dishie (USA)
- Paintbox DK cotton (UK/Europe)
Gauge Specifications
Maintaining the correct gauge is crucial for achieving the intended fit of 55–58 cm. Check your tension against these measurements:
- Double Crochet: A $2 \times 2$ inch ($5.5 \times 5.5$ cm) square equals 10 stitches by 5 rows.
- Single Crochet: A $2 \times 2$ inch square equals 10 stitches by 11 rows.
- Rib on Brim: A $2 \times 2$ inch square equals 12 stitches by 10 rows.
Core Crochet Abbreviations (US Terms)
- ch: chain
- dc: double crochet
- hdc: half double crochet
- sc: single crochet
- st: stitch
- sl st: slip stitch
- tr: treble crochet
- ps: puff stitch
- yo: yarn over
Step-by-Step Construction Guide
Part 1: Sunflower Squares (Make 5)
The main body of the hat is built around a ring of five sunflower granny squares.
- Round 1: Start with dark brown yarn. Chain 4, then work a slip stitch into the 1st chain to join and form a circle. Chain 3, and work a double crochet into the chain-4 loop 11 times. Slip stitch into the 3rd chain of the initial chain-3 to close the circle. You will have a small circle consisting of 11 double crochets and the initial chain-3 counting as a stitch, totaling 12 double crochets.
- Round 2 (Puff Stitches): Attach yellow yarn using a standing double crochet (working a dc directly into the gap without tying a knot first). Yarn over, insert your hook into the same stitch, and pull through; repeat this two more times into the exact same stitch, pull your yarn through all 4 loops currently on your hook, and chain 1. Repeat this sequence in parentheses—yarn over, insert hook, pull through three times, pull through all 4 loops, and chain 1—until you have created 12 puff stitches total. Slip stitch into the first stitch of the round to join. Tip: Try to keep all loops uniform in size when yarning over and pulling through to ensure even, beautiful puff stitches.
- Round 3 (Treble Clusters): Attach pale yellow yarn by putting your hook through any gap between the puff stitches and working a standing treble crochet stitch. Work 3 more treble stitches while keeping the final loops on your hook until you have 4 loops total, then pull through all loops and chain 3. Work 11 more treble clusters in this same manner until you have 12 treble clusters total, then join the round with a slip stitch and fasten off.
- Round 4 (Beige Border): Using beige yarn, work a standing treble crochet into any gap between the yellow treble clusters. Work 2 more treble stitches to form a group of 3, finishing each individual stitch so that only one loop remains on your hook. Work 3 double crochets into the two spaces, then create a corner by working 3 treble crochets, 1 chain, and 3 treble crochets into the next space. Continue working in this pattern around the entire square, chain 1, and finish with a slip stitch to join. When fastening off, leave a tail of approximately 25 cm / 10 inches for sewing the squares together.
Part 2: Crocheting the Crown
The crown of the hat is worked in continuous rounds using beige yarn (note that olive green yarn is used in the pattern reference photos for photographic clarity).
- Round 1: Chain 3, work a double crochet into the chain-4 loop 11 times, and slip stitch into the 3rd chain of the initial chain-3 to make a circle. You should have a small circle of 11 double crochets and the chain-3 counting as one double crochet, making 12 double crochets total.
- Round 2: Chain 3, work 2 double crochets into each stitch until the end, and slip stitch into the 3rd chain to close the circle (24 double crochets).
- Round 3: Chain 3, work 1 double crochet in the next stitch, followed by 2 double crochets in the next stitch, repeat from * to * until the end, and slip stitch into the 3rd chain to close the circle (36 double crochets).
- Round 4: Chain 3, work 1 double crochet in the next 2 stitches, followed by 2 double crochets in the next stitch, repeat from * to * around, and slip stitch into the 3rd chain to close the circle (48 double crochets).
- Round 5: Chain 3, work 1 double crochet in the next 3 stitches, followed by 2 double crochets in the next stitch, repeat from * to * until the end, and slip stitch into the 3rd chain to close the circle (60 double crochets).
- Round 6: Chain 3, work 1 double crochet in the next 4 stitches, followed by 2 double crochets in the next stitch, repeat from * to * to the end, and slip stitch into the 3rd chain to close the circle (72 double crochets). Leave an approximate 40 cm tail for sewing the crown onto the square ring.
Part 3: Assembly
- Joining Squares into a Ring: Arrange your 5 completed sunflower squares in a line and sew them together by passing your needle through the back loops of the stitches from each section, using the 25 cm tails left from Round 4. Close the loop to form a continuous ring of flowers.
- Attaching the Crown: With the right sides facing together, pin the circular crown section to the upper edge of your square ring. Secure them together using the long 40 cm tail left from the crown. Insert your tapestry needle through the back loops of the stitches from each connecting part. Sewing exclusively through the back loops creates a wonderfully crisp and defined structural seam.
Part 4: Working the Flared Brim
- Round 1: Using dark brown yarn, attach your yarn to any space between the squares. Work one complete round of single crochets around the edge, and finish with a slip stitch to join.
- Round 2: Chain 2, then work 6 double crochets, followed by 2 double crochets into the next stitch, repeating this sequence from * to * around. Slip stitch to join the round. Tip: You can crochet directly over the previous round’s yarn tail to easily conceal it.
- Round 3: Chain 2, work 7 double crochets, followed by 2 double crochets into the next stitch, repeating from * to * until the end. Slip stitch to join the round.
- Round 4: Chain 2, work 8 double crochets, followed by 2 double crochets into the next stitch, repeating from * to * to the end. Slip stitch to join the round, and fasten off your beige yarn.
- Round 5: Using dark brown yarn, join with a standing double crochet stitch right where you finished off the previous round, work 2 double crochets into every single stitch around the entire round, join with a slip stitch, and fasten off your yarn.
Finishing and Care
Once all components are joined and your brim is complete, use your tapestry needle to weave in any remaining loose ends cleanly into the fabric. Try your finished hat on and admire your handmade creation!